
Reimagining the Spirit Box: Part III
The complete plans for the Decker Device: parts, wiring, every command and the lab notes, for under $300 and a weekend. Insiders only.
The complete plans for the Decker Device: parts, wiring, every command and the lab notes, for under $300 and a weekend. Insiders only.

This is Part 3 on reinventing the spirit box of ghost-hunter fame. Part 1 was the history and the premise behind it. Part 2 was how the box works and what it said during testing.
This is a lengthy Insiders-only article because it's the complete set of plans: everything I actually did, in the order I did it. You get the full parts list with costs, photos and screenshots of every step, the wiring diagram and checklist, and the code I run, not a cleaned-up sample. I even noted where I made mistakes, so you don't have to repeat them.
As for skill level needed, I would rank this as a 3 on a 5-star scale. Essentially mid-level. The most difficult steps include soldering a few headers, drilling holes into a wooden box, following a wiring schematic, and typing several commands into a Raspberry Pi over SSH. No coding required. If you've built Pi projects before, you can definitely build this one.
The cost is less than $300 in parts and I've included a full list of what's needed. The most expensive parts are the Pi itself and the rechargeable battery. Time required is about a weekend.
What we're actually building
Here's the short version (read the Part 1 and Part 2 articles for deep dives into how this device works and why this one's different):
A Raspberry Pi reads electrical noise from two screw-head antennas using two analog-to-digital converters. Using a set of algorithms, the Pi turns the noise into a stream of random letters, searches the stream for words, and speaks the words it finds through a small speaker while showing them on an OLED screen. Everything is logged on the device, so every word spoken can be traced back to the raw samples that produced it.
No software random number generator is used anywhere in the process. Every letter, resulting word and choice of voice can be derived from the data produced from the antenna readings. The one exception is that the voice engine adds a little internal variation to how a voice sounds.
There are four main Python scripts that work together (below) and they're all included in the download. The download link is at the bottom of this post.
capture.py records the raw readings (used for the noise measurement and the randomness tests).spirit_box.py is the box: capture, health checks, letters, scanner, screens, speech. It runs as a service from boot.power_watch.py watches the POWER switch and shuts the Pi down cleanly.display.py draws every screen, and has a demo mode for testing the OLED.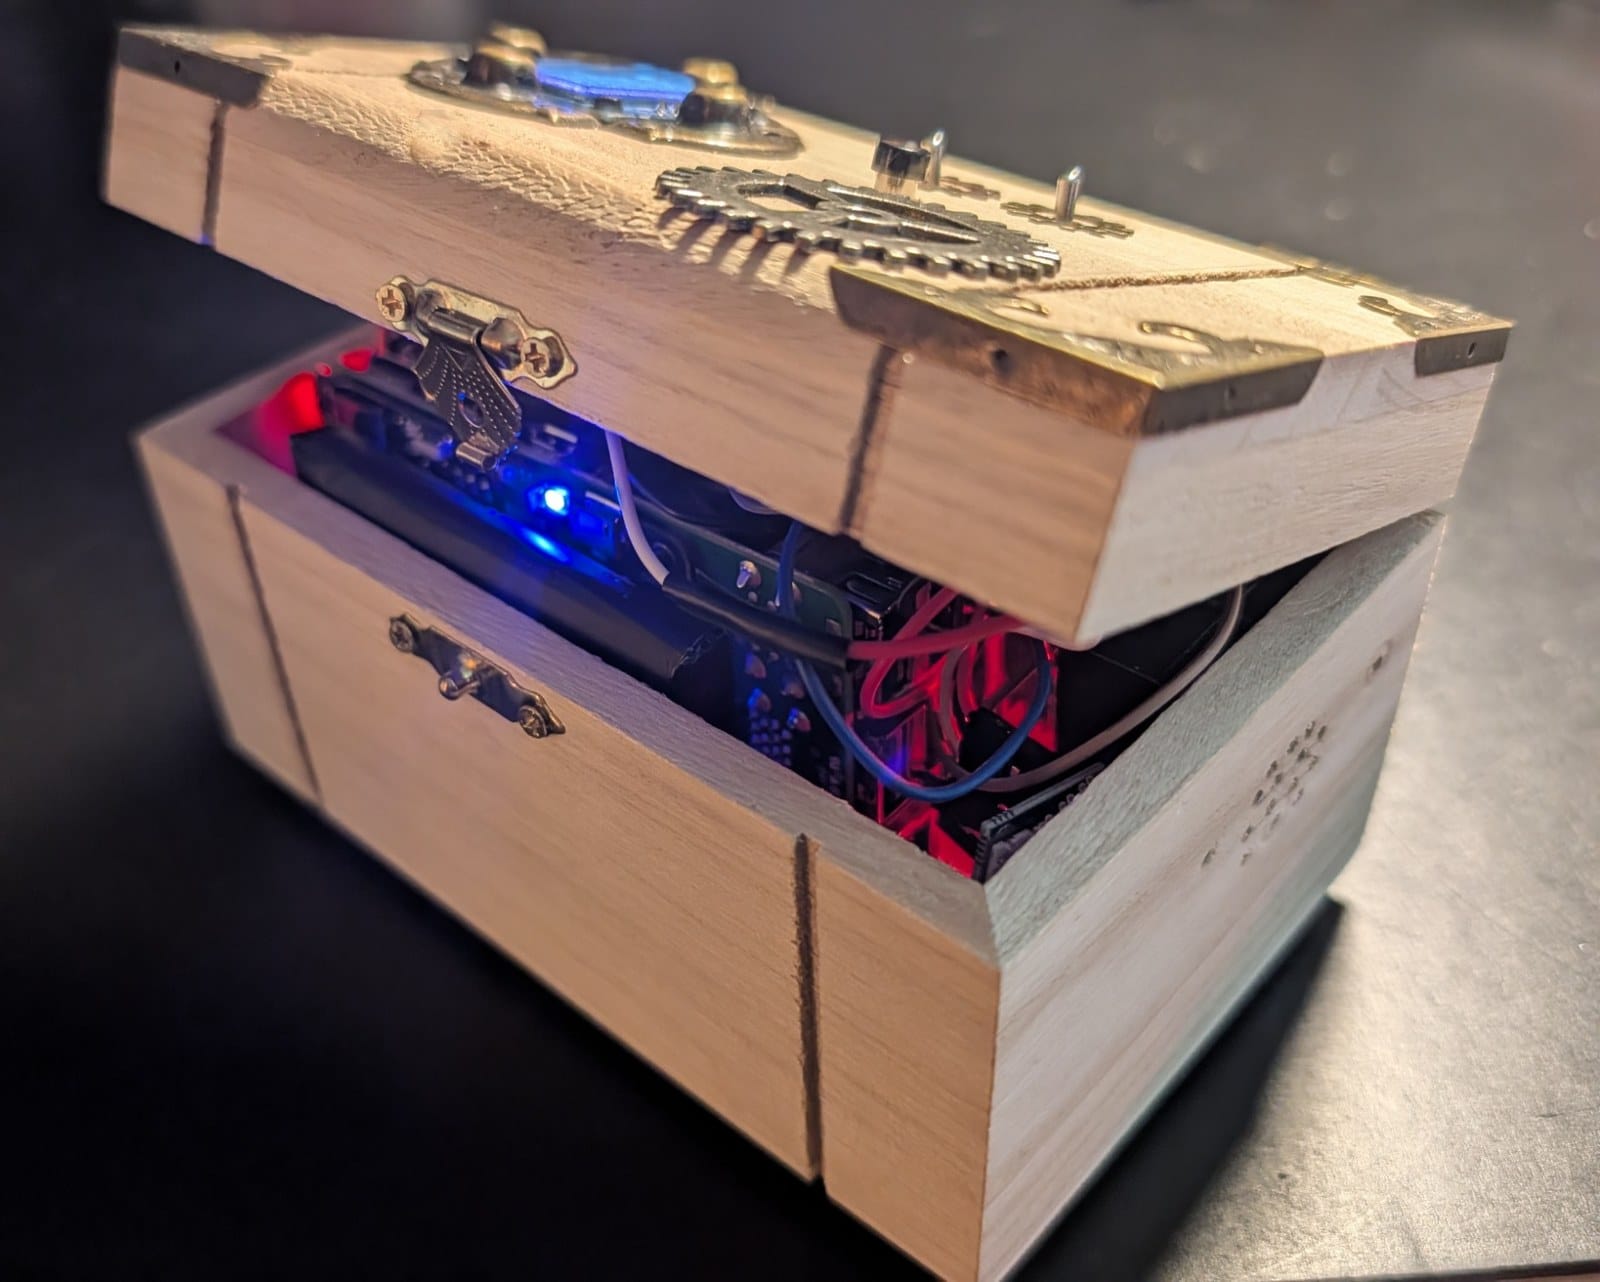
Here's the list of parts needed for the project. Where applicable, I'm listing the source as Amazon, but not a direct link to the listing as they tend to change over time. There should be enough detail in the part description to search for the appropriate listing.
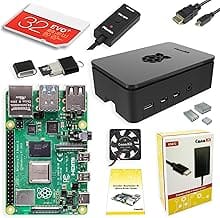
Single board computer that runs everything.
Source: Amazon
Cost: This can vary depending on the listing. Typically I buy a complete kit because it comes with the power adapter, memory card, case, heat sink, etc. As of this writing you can pick up a CanaKit for about $150.
Holds the Pi operating system (Linux) and logs.
Source: Amazon
Cost: I saw listings for two 16 GB microSD cards at about $17. See my note above to look for Pi kits that include the microSD card.
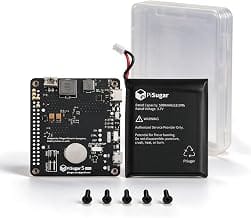
Battery, mounts under the Pi (no soldering). There are a few different options, but go for the PiSugar S Pro 5000 mAh. This battery allows the Pi to run for over 6 hours without a charge. Perfect for ghost hunting trips.
Source: Amazon
Cost: $33

Fifty-seven words uttered in eight hours with nobody home: the first published baseline for a spirit box, and the math behind the three that mirrored my day.

A ghost hunter’s spirit box, rebuilt so every word it speaks comes with the odds of saying it by chance.

My first approach to analyzing 152,000 UFO sightings had a 34% accuracy rate. I almost published it anyway. Here's what went wrong with semantic embeddings, why I pivoted to LLM extraction, and the methodology that actually worked.

Building our own UAP 'dog whistle' device using a Raspberry Pi Zero, battery, and custom Python code. Inspired by Skywatcher's tech, we're sharing the complete DIY guide.